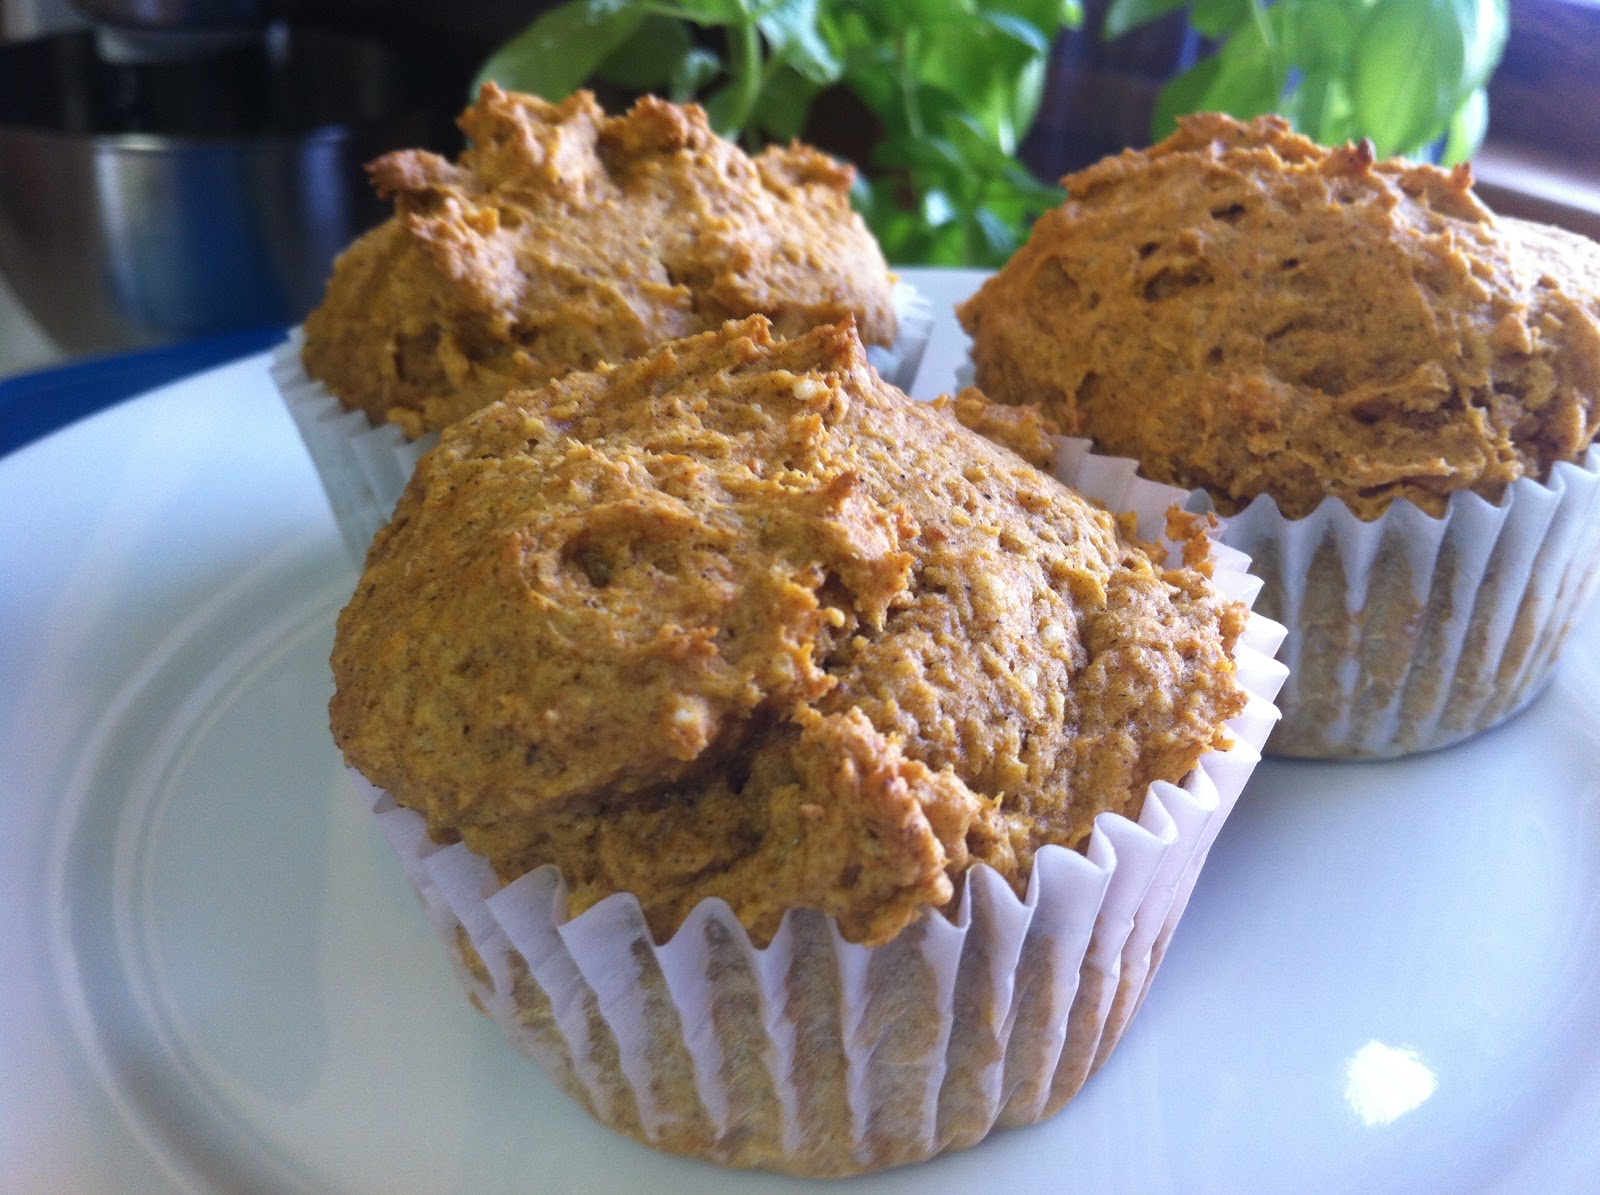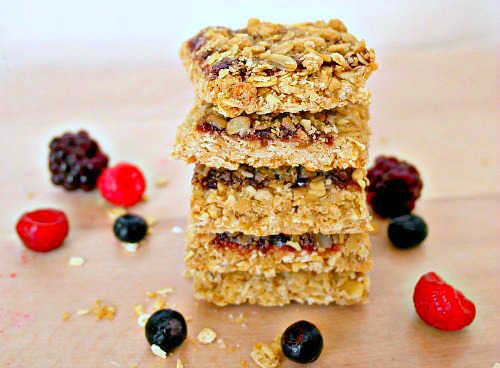
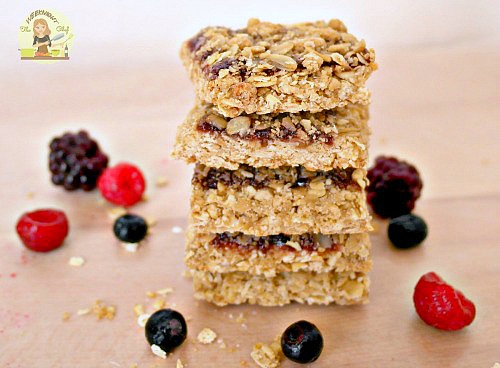
Homemade Triple Berry Honey Oat Squares
I absolutely love what I call “bars” I eat all different types and flavors. I tend to be crazy busy so it’s easy to just grab a bar and do. I decided to start making my own since, again , it is less expensive.
A box of 5 bars usually costs me about $3.50, while that is not crazy expensive it adds up. These Homemade Triple Berry Honey Oat Squares last longer, freeze well and as long as you have most the ingredients already, will cost less to make.
Ps- they are good for you, but you would never know it!
What you need:
1 3/4 stick butter- cold & cut into pieces
1 1/2 cup flour
1 1/2 cup regular or quick oats
1 cup brown sugar- packed
1/4 cup honey
1 teaspoon baking powder
1 teaspoon cinnamon
¼ teaspoon salt
For the berries: you can use a 12 oz. jar of preserves OR make your own. To make your own is easy ( of course) :
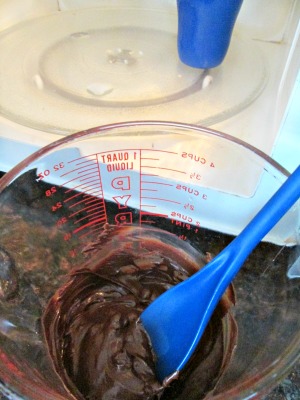
Bring 3 Cups of frozen mixed berries , 1 Cup of sugar and 2 tablespoons of water to a boil, reduce to medium low. Continue mixing until the berries break down. Remove from the heat and allow to cool completely, if the berries are too thin it will thicken as it cools.

What to do:
- Preheat the oven to 350º
- Grease a 13×9 pan (using butter or spray)
- For this next step use a food processor, if you do not have one ( I don’t!) I just do it by hand, it works!
Food processor: Add the flour, brown sugar, oats, baking powder, cinnamon, cut butter and salt, Pulse until mixture is crumbly.
My hands method: Add the cut butter to the flour, mix using finger tips and breaking apart the butter as you go. Add the rest of the ingredients and continue mixing by hand until the mixture is blended and crumbly.
4. Spread half the oat mix into the pan, press firmly to form a bottom crust. Drizzle the honey evenly all over.
5. Spoon berries (or preserves) evenly on top. Spread the other half of the oat mixture over the top, lightly press down.
6. Bake about 30 minutes or until golden brown. Let cool completely before cutting.
Makes about 24-32 squares depending on size. Enjoy!
[yumprint-recipe id=’2′]